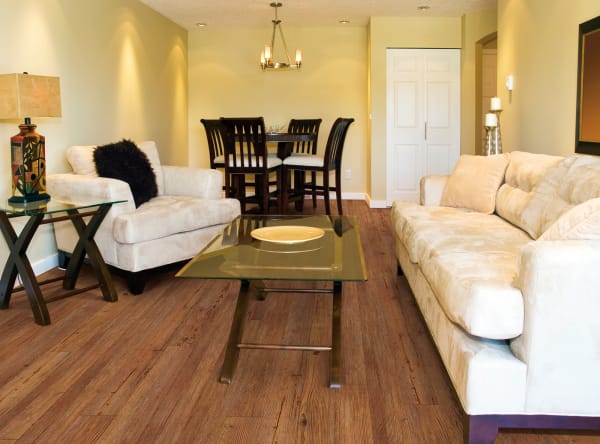
Waterproof flooring is a popular choice among homeowners for its durability, aesthetic versatility, and moisture-resistant properties. Whether you are considering a DIY project or planning to hire professionals, understanding the installation process can help ensure a smooth and successful flooring upgrade. Here’s a step-by-step guide to installing COREtec waterproof flooring.
Prepare the subfloor
The first step in any flooring installation is preparing the subfloor. The subfloor must be clean, dry, and level for the vinyl to be installed correctly. Remove any existing flooring, adhesives, or debris. Fill in any holes or cracks with a suitable filler and sand down any high spots. If moisture is a concern, consider laying a vapor barrier, especially over concrete floors, to prevent any potential damage to your new waterproof flooring.
Choose the right type of waterproof flooring in Paramus, NJ
Waterproof flooring comes in various forms, including tiles, planks, and sheets, each with its own installation nuances. Planks are popular for their ease of installation and natural wood look, while tiles can offer more intricate patterns and designs. Consider the room’s size and usage when selecting the style and type of vinyl, as well as the overall aesthetic you aim to achieve.
Acclimate the flooring
Before installation, it is crucial to let your COREtec waterproof flooring acclimate to the room's environment where it will be installed. This process involves leaving the unopened boxes of vinyl in the room for at least 48 hours. This step helps prevent expansion and contraction post-installation, which can lead to buckling or gaps.
Begin the installation process
For a DIY installation, start by laying out your vinyl to plan the layout. This step helps you visualize the end result and plan for any necessary cuts. If you’re using planks or tiles, begin from the center of the room or at the main entrance to ensure a symmetrical layout. Click-lock waterproof vinyl flooring makes this process straightforward as each piece snaps together, forming a tight seal that enhances its waterproof properties.
Cutting and fitting
When reaching walls, cabinets, or other obstacles, you will need to cut the waterproof flooring to fit. Use a sharp utility knife or a vinyl cutter to make clean cuts. Ensure all edges fit snugly against any obstacles without gaps.
Finishing touches
Once all pieces are installed, add transitions between rooms and install baseboards to cover the expansion gaps. This not only gives the room a finished look but also helps hold the flooring in place. Finally, clean the floor with a suitable cleaner to remove any installation residues.
Enjoy your new floors
After the installation, your new waterproof flooring will be ready to handle daily activities, providing a durable and attractive surface. Regular maintenance, such as sweeping and occasional mopping with a suitable cleaner, will help keep your floors looking new for years.
Contact our waterproof flooring store for your installation needs
Waterproof flooring installation is a project that can dramatically improve the look and functionality of your home. With the right preparation and techniques, you can enjoy a beautiful, long-lasting floor that withstands the rigors of daily life.
Contact G. Fried Flooring & Design whenever you're ready to upgrade your space with top-quality floors! Our waterproof flooring store in Paramus, NJ, serves Paramus, Ridgewood, Mahwah, Upper Saddle River, Franklin Lakes, and Wyckoff, NJ.


